Scanning film with Nikon Super Coolscan 4000
Workflow for photos taken on film, from scanning to editing to exporting.
10 Photos • 24 January 2015
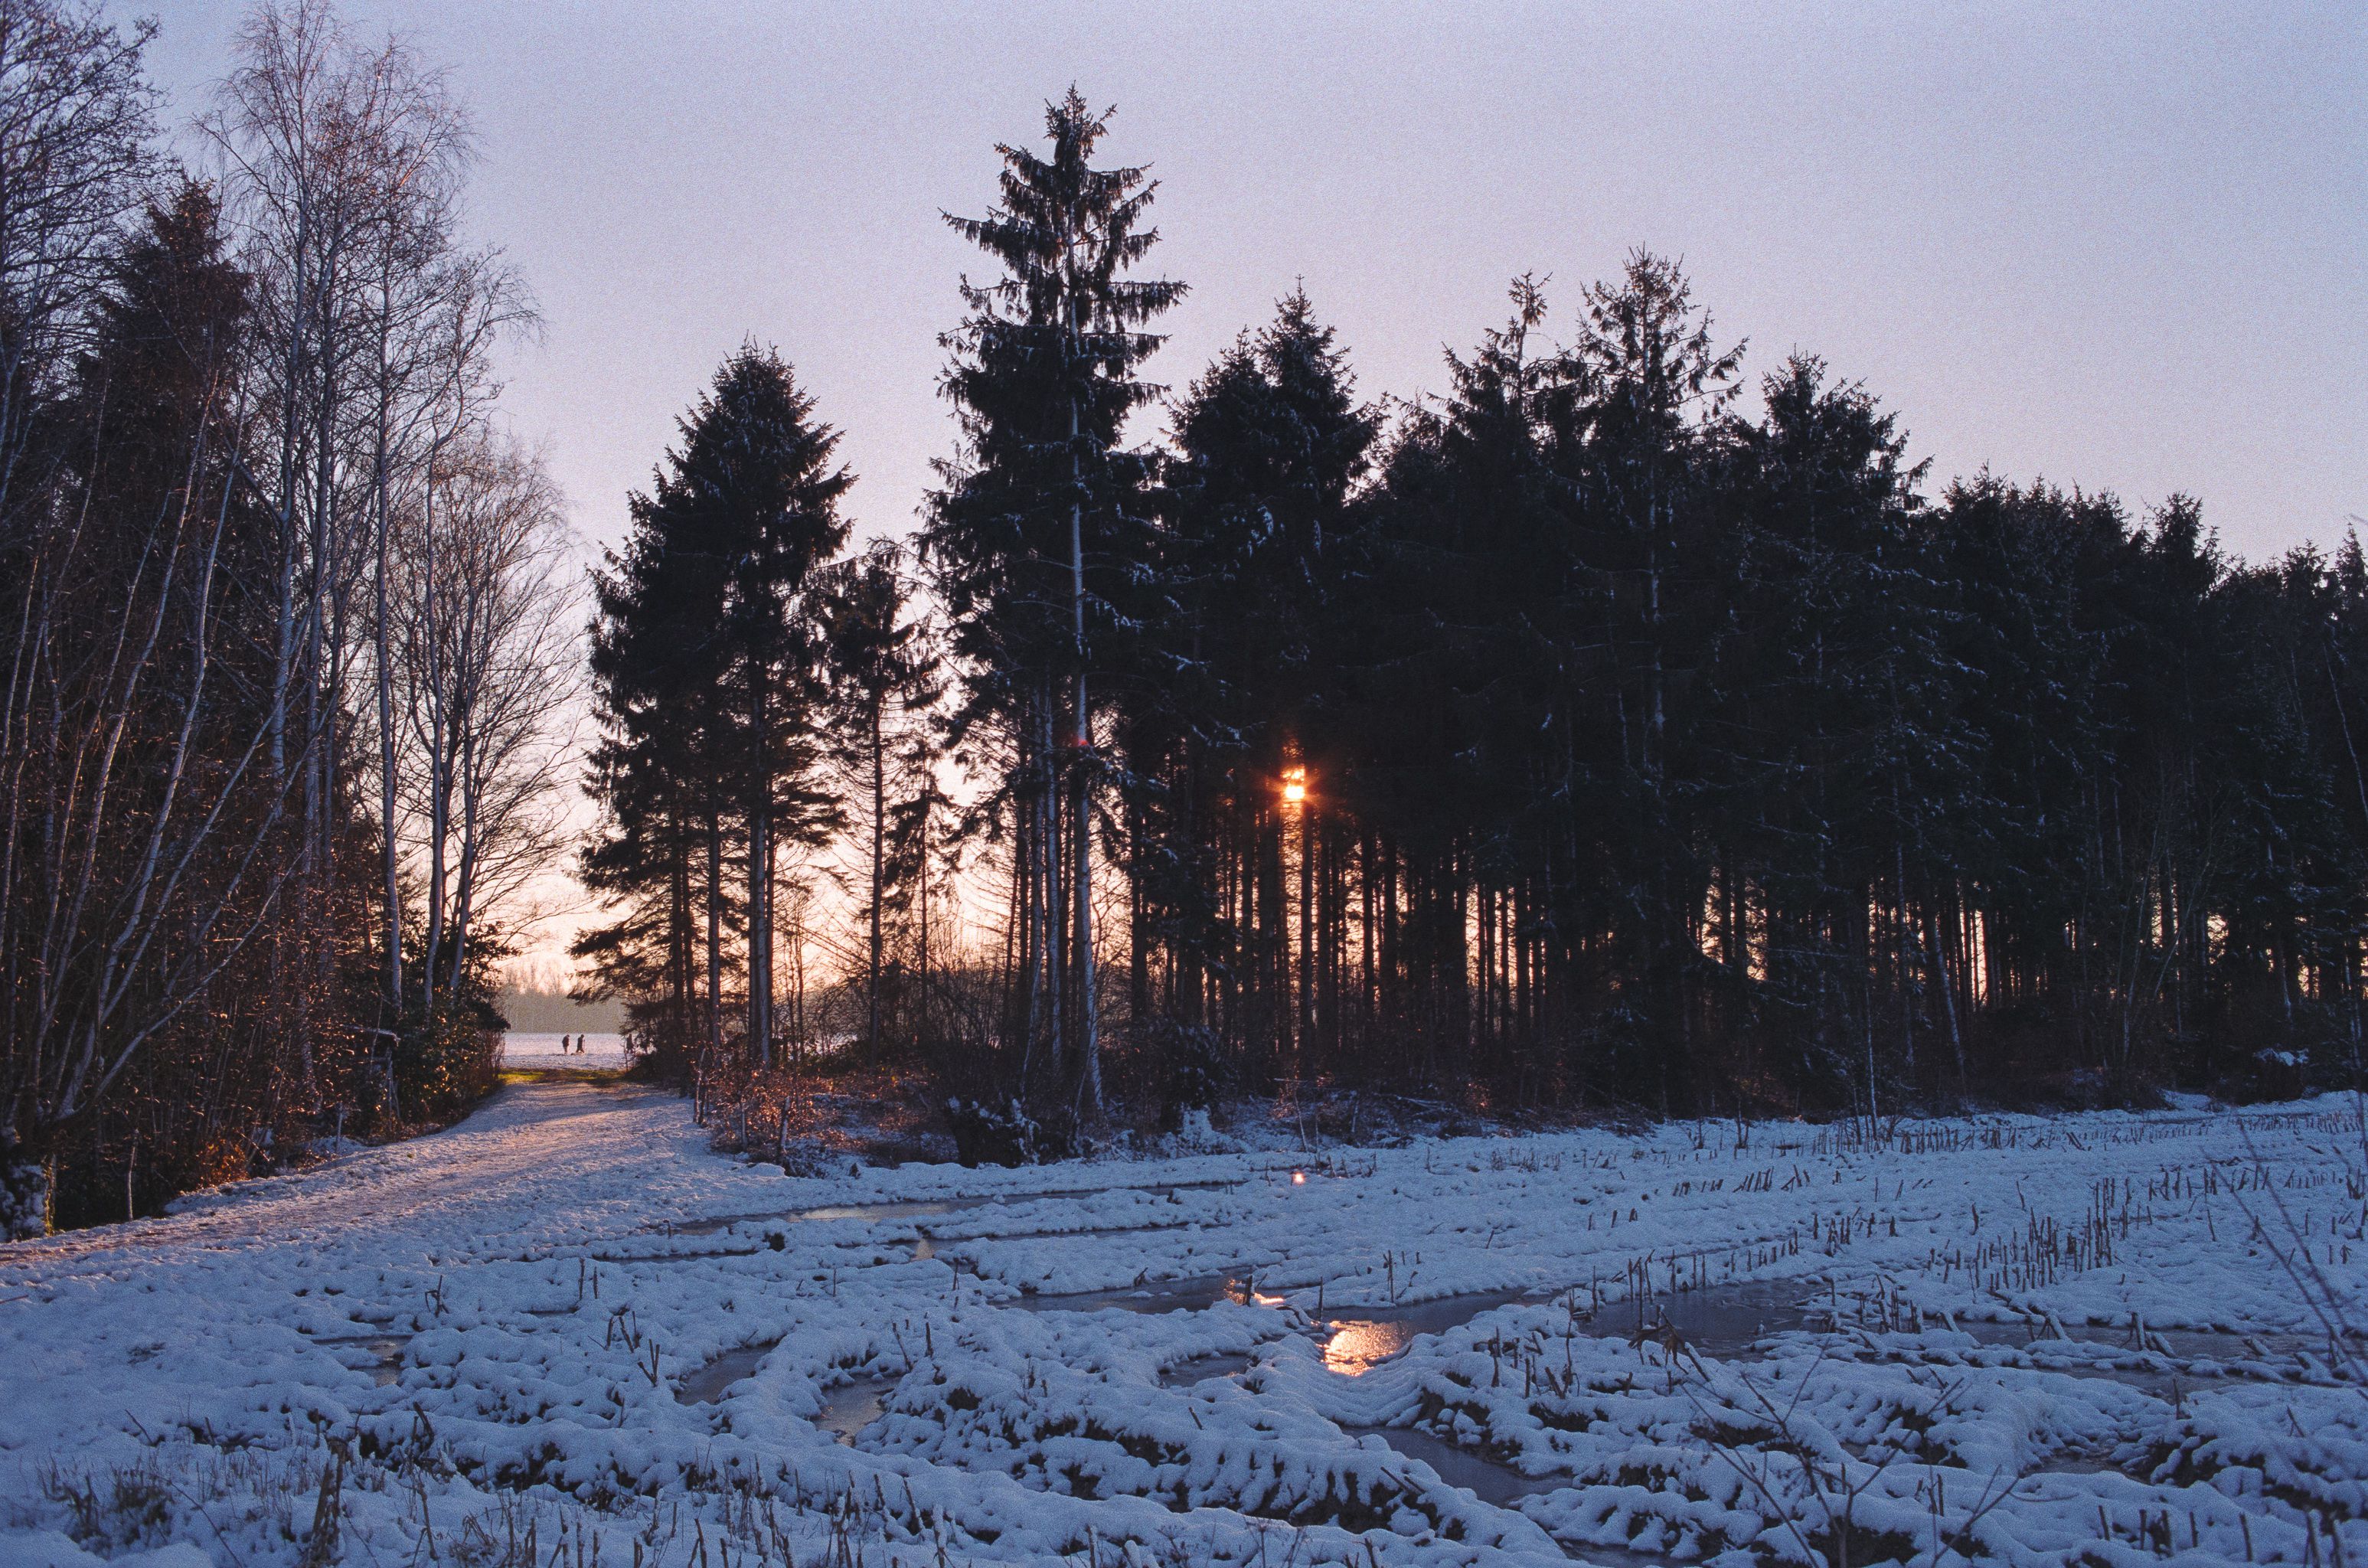
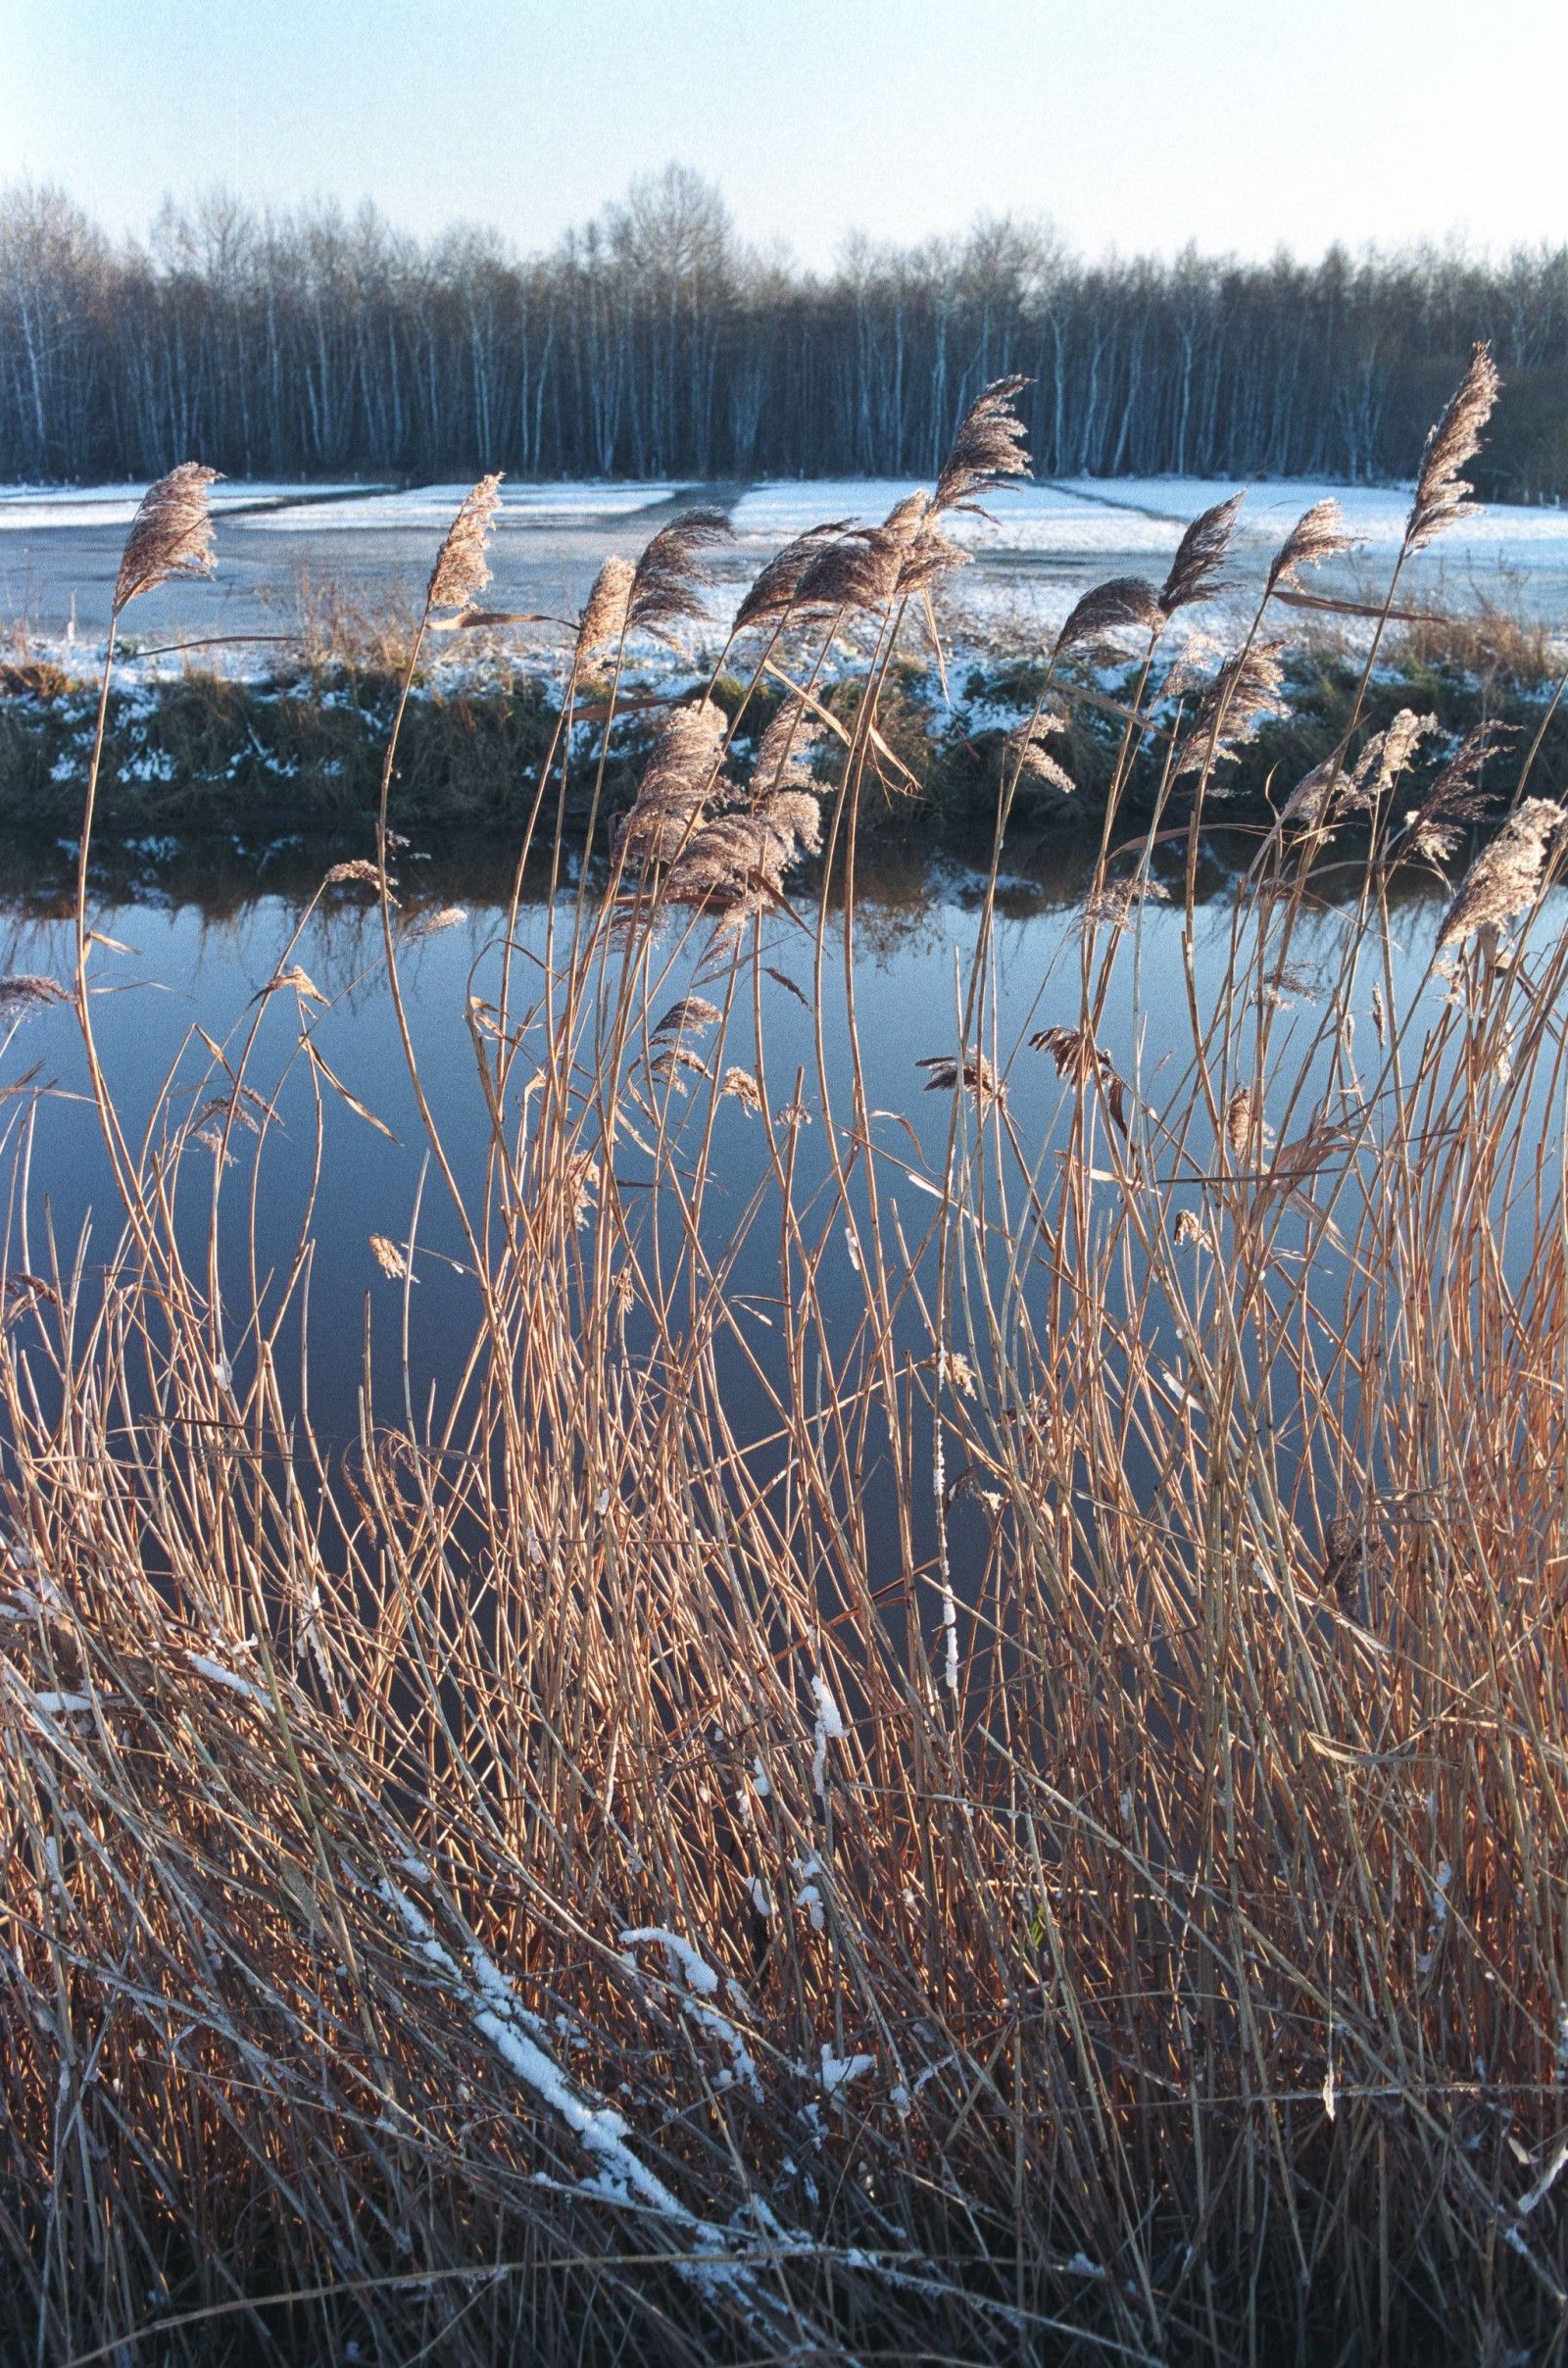
Leica R8 | Elmarit-R 1:2,8/35mm | Agfa Vista 200
Introduction
In this article I will go over my workflow for photos taken on film rather than digital. I will be using software suite Nikon Scan 4, and will go over the settings I use for scanning with the Nikon Super Coolscan 4000 ED hereafter ‘LS4000’. This article will be most of interest to anyone using Nikon Scan 3 or 4 with any of the Nikon Coolscan film scanners. Some features and options will vary per scanner but most will be the same. It will also be interesting for people who use other scanners and software but will need to take this information as is and ‘translate’ it into their own software suites functions and options.
The Nikon Super Coolscan 4000 ED
The scanner features a Nikon lens with ED glass and a RGBI LED set for consistent backlighting of the Negative or slide film. It features Digital ICE for dust and scratch removal during scan, and colour restoration for faded and colour casted film. The LS4000 uses a FireWire 400 (IEEE1394) interface which works fine but might be a problem for people with computers without FireWire. Some of the other Nikon Coolscan scanners feature USB connectivity which might be more compatible with most current computer hardware.
Nikon Scan 4 Compatibility
Since the software has not been updated since 2007 it is not really compatible with todays operating systems. This is why people like to use third party software and drivers like VueScan or SilverFast to use the Nikon Coolscan scanners. I tried both software suites but still think the older Nikon Scan 4 software is easiest and gives me consistent and best results with the least amount of effort.
My main computer is a Mac Pro with OS X 10.10 which obviously does not support the Nikon Scan 4 software. So I had two options: I either installed Windows through bootcamp on my Mac Pro or I would have to dig up an old PowerBook G4 with OS X 10.5.8 on it. Both options work, but if you have an old Mac that works running 10.4 or 10.5 featuring a FireWire port I would just stick with that.
Compatibility:
Windows: XP & Vista 32 bit (7 and 8 in 32 and 64 bit with a workaround)
OS X: 10.4 Tiger & 10.5 Leopard (later operating systems not supported)
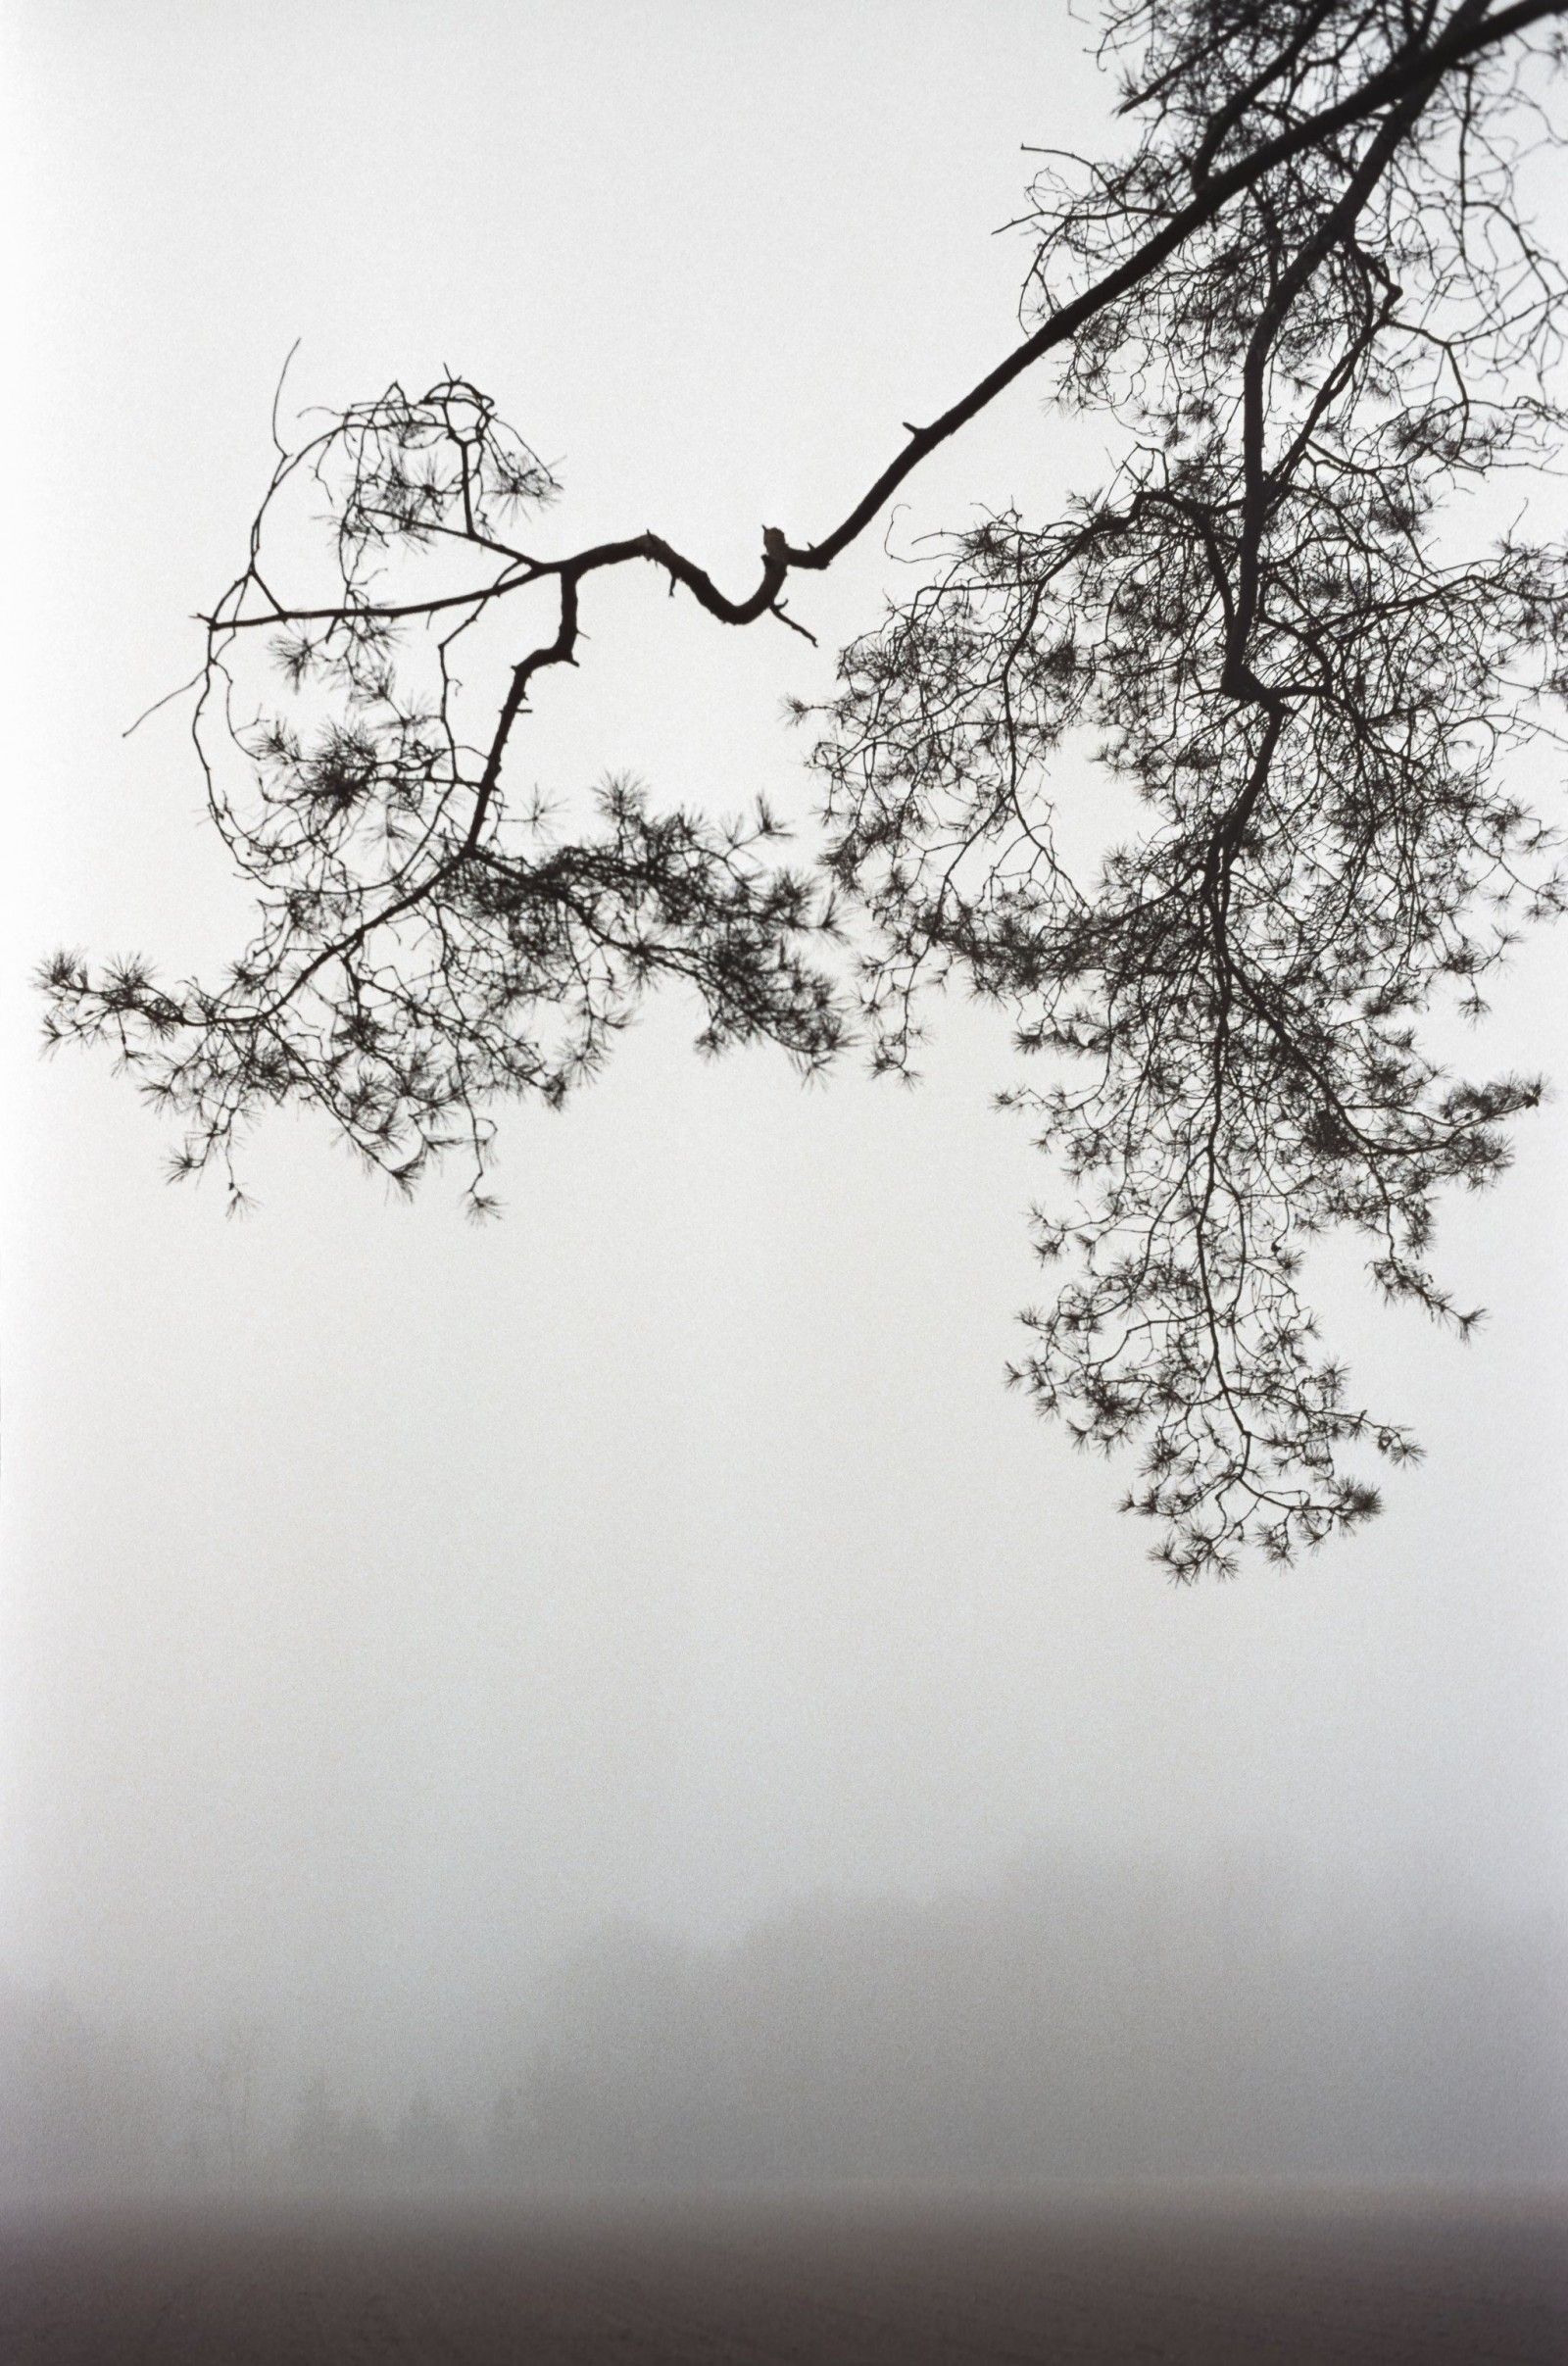
Leica M6TTL | Summicron-M 50mm | Kodak Gold 200
Workflow at a glance
Since scanning and editing digitally is a little different from importing images from your SD card I will sketch the workflow from step by step. Read on so we can get more in depth into the whole process.
[PowerBook G4]
Scanning -> Saving locally -> Transferring
[Mac Pro]
Importing in Lightroom -> Archiving -> Editing -> Exporting
Setting up Nikon Scan 4 and creating a default profile
After opening the Nikon Scan 4 suite, turning on the scanner and putting in the first strip of film (6 frames at a time maximum) I click on the ‘Show Thumbnails’{1} button so I get 6 thumbnails of the negatives. This only takes a few seconds. Then I click on one of the thumbnails{2} and in the ‘Tool Palette 1’ (which you can enable by clicking ‘View -> Tool Palette 1’ on your menubar) we will edit some settings and then save it as a profile for further use.
First lets turn off some features we will not be using since we can do it in Lightroom afterwards which is better: ‘Curves’, ‘Color Balance’, ‘Unsharp Mask’ and ‘LCH Editor’.
Now go to ‘Digital ICE 4 Advanced’{4} and check ‘Enable Digital ICE’ and select [On (Normal)] You might think why not use [On (Fine)]. The ‘fine’ setting makes the images softer and you will lose fine details this is only interesting when you are scanning film with a lot of grain and or a lot of damage to the negatives. For now leave it on [On (Normal)]. Leave the ‘Post Processing’ and ‘Digital DEE’ off.
Now go to ‘Scanner Extras’ and make sure the ‘Scan Bit Depth’{4} is set as high as possible. This is [14] for the LS4000. At ‘Multi Sample Scanning’{5} set it to [Normal (1x)] for now increasing this one step will double the scanning time, if you set it to 16x it will take 16 times longer. This feature is there to eliminate noise created by the CCD sensor on very dark negatives, but I have never seen any difference between 1x or 16x scan.
Now we have set the scanner parameters and values so that it is easily usable and compatible with most colour negative film. let’s save this as a profile for further use by clicking on the ‘Settings’{6} dropdown menu (In the top left side of the Nikon Scan 4 suite) and selecting ‘Save Settings…’ and safe the profile as ‘Default for Colour Negatives’.
Now to make sure we are saving the files with the highest quality possible let’s setup the default filetype extension for the files when you save the scanned negatives. Go to ‘Nikon Scan 4 -> Preferences…’ and click the tab ‘File Saving’ and make sure it is set to the [NEF] filetype and click ‘OK’ in the lower right corner. This way the files are saved as ‘NEF’ Raw files which are fully compatible with Lightroom, Photoshop and the like. This way they are as flexible as possible for postprocessing in those type of programs.
Quit the Nikon Scan 4 suite.
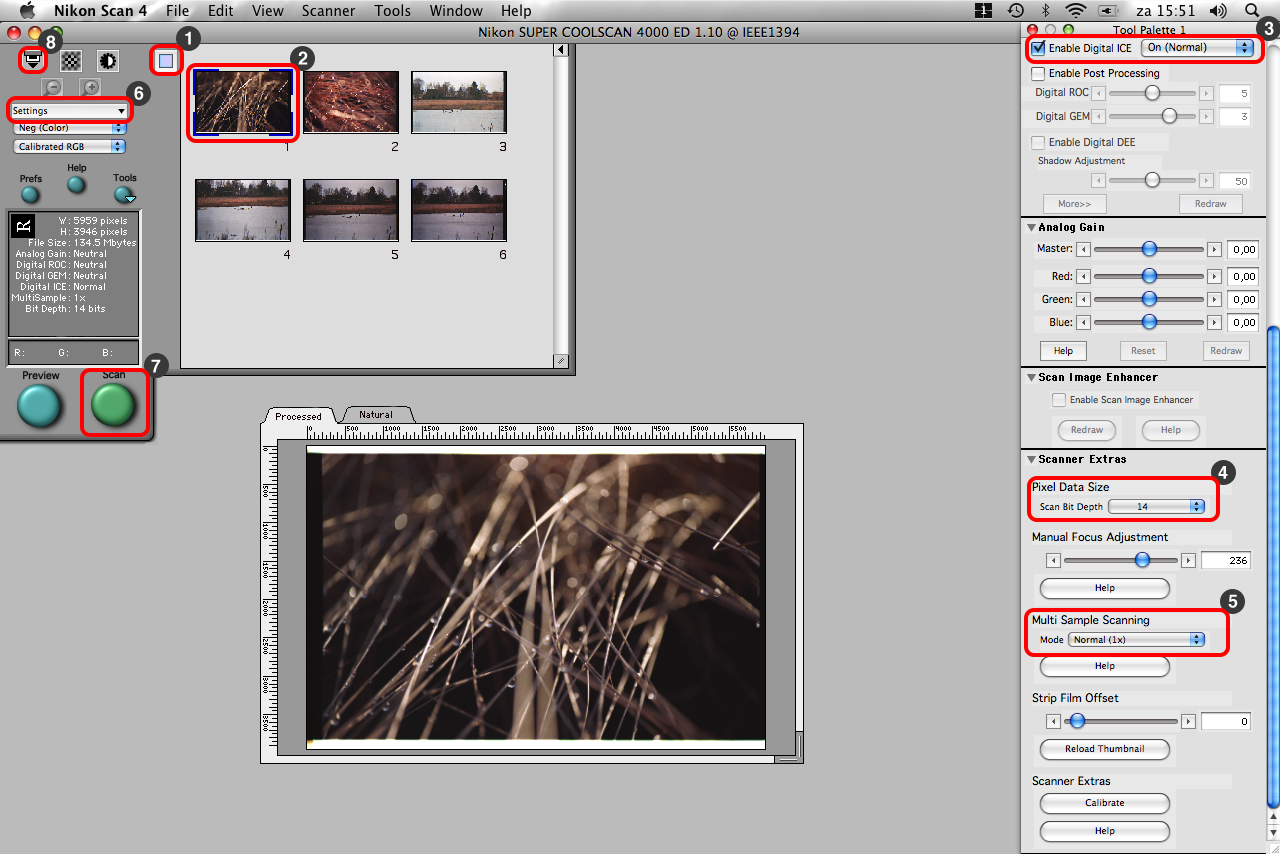
Nikon Scan 4
Scanning the colour negatives
Now that we did our first time Nikon Scan 4 setup we can actually start scanning our Colour Negatives. There should still be a film strip with 6 negatives in the scanner; if not, put one in now and open Nikon Scan 4 again.
Click the ‘Show Thumbnails’{1} button again so we get to see the thumbnails again. Now select the thumbnails of the negatives you want to scan by holding CMD while clicking the ones you want to scan, or CMD+A to select all the negatives. After selecting the negatives they are marked by blue edges around the corners{2} and we can load the profile we created earlier on. You can load different profiles for different negatives so make sure you have all the negatives you want to scan selected. Load the profile we created earlier by clicking the ‘Settings’{6} dropdown menu and at the bottom click on the [Default for Colour Negatives] profile. Now that the scanning parameters are set we can start scanning, hit the ‘Scan’{7} button the ‘Batch Scan Options’ window will open and you can select some options. Select all but ‘Close window and eject film’ then click ‘Ok’.
Now we can define the naming of the scans, for example I am scanning a roll of Agfa Vista 200 so at the Prefix I enter ‘AGFA_200_01_15_’ the 01 being the month January and the 15 the year 2015 of when I shot the film. Now I select that the numbering is done with 2 digits and the starting index being 1 or 0 whichever you prefer. Now we click the ‘Browse’ button to define a location where we want the files to be saved. As you can see the ‘File Type’ is already set to [NEF File] because we set this as the default file type extension. Now click the ‘Ok’ button and the scanning will begin, it will automatically scan all 6 the negatives and save them. After it is done scanning you can eject the film by clicking the ‘Eject button’{8} or ‘Scanner -> Eject’ in the menubar.
Repeat the process until your whole filmroll is scanned: Enter film, load thumbnails, select the ones you want to scan, load the profile, click ‘Scan’, click ‘Ok’, click ‘Ok’ (note the numbering automatically counts up) and the scanning starts.
Transferring the scans
Since I am working on an old PowerBook G4 machine to drive the scanner I will now transfer the files from the PowerBook G4 to my Mac Pro over the network, but you can use a large thumb drive or USB/FireWire harddrive too of course.
Importing in Lightroom and Editing
When importing into Lightroom make sure to tag the photos properly with keywords{1}, the photos do not have a lot of EXIF data like digital camera files so you want to do this manually and as precise as possible. I usually put down: the camera used, the lens, the film used, the location and project. Make sure to click ‘Copy as DNG’{2} since the NEF files created by Nikon Scan 4 are quite old it is best in my opinion to convert them to a modern DNG file for highest compatibility. Click ‘Import’{3} and the scans will start importing into your Lightroom catalog.
When the scans are imported I usually flick through them and flag the ones I want to use with the ‘~’ key on my keyboard and leave the others be. In the bottom right corner I filter for [Flagged]{5} photos so I only see the photos I flagged in my library.
Then I select a photo and go to the [Develop]{4} tab to make some adjustments. I usually adjust the white balance slightly to make it feel as natural as possible, and make sure the highlights are correct. Pulling the highlights slightly if there are any blown highlights in the sky for example. Nice thing about Colour Negatives is that you can pull them really well, but not push them after development. Overexposure is not a problem, but underexposure is. It’s the exact opposite compared to files from digital cameras.
Photos taken on film and scanned with Nikon Scan 4 are just as flexible as digital camera Raw files so you can edit them any way you like, just like you’re used to from digital camera files. Just keep in mind the thing about the exposure: pulling is fine but pushing is usually not.
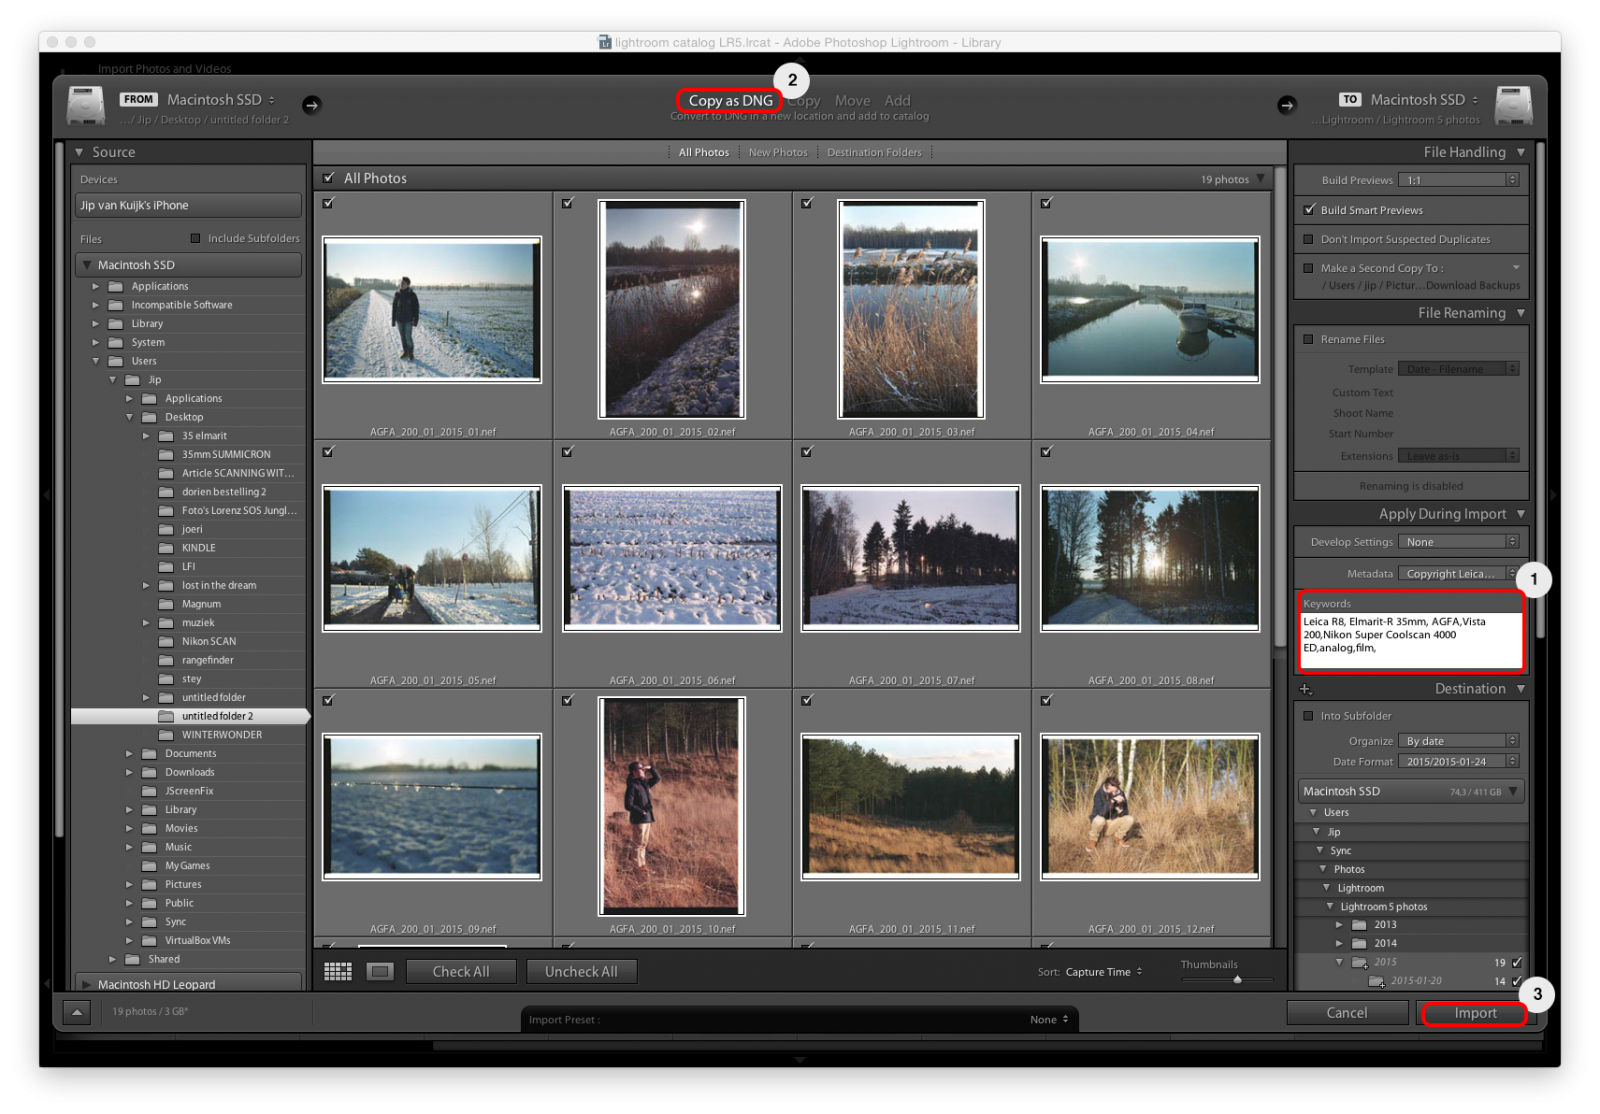
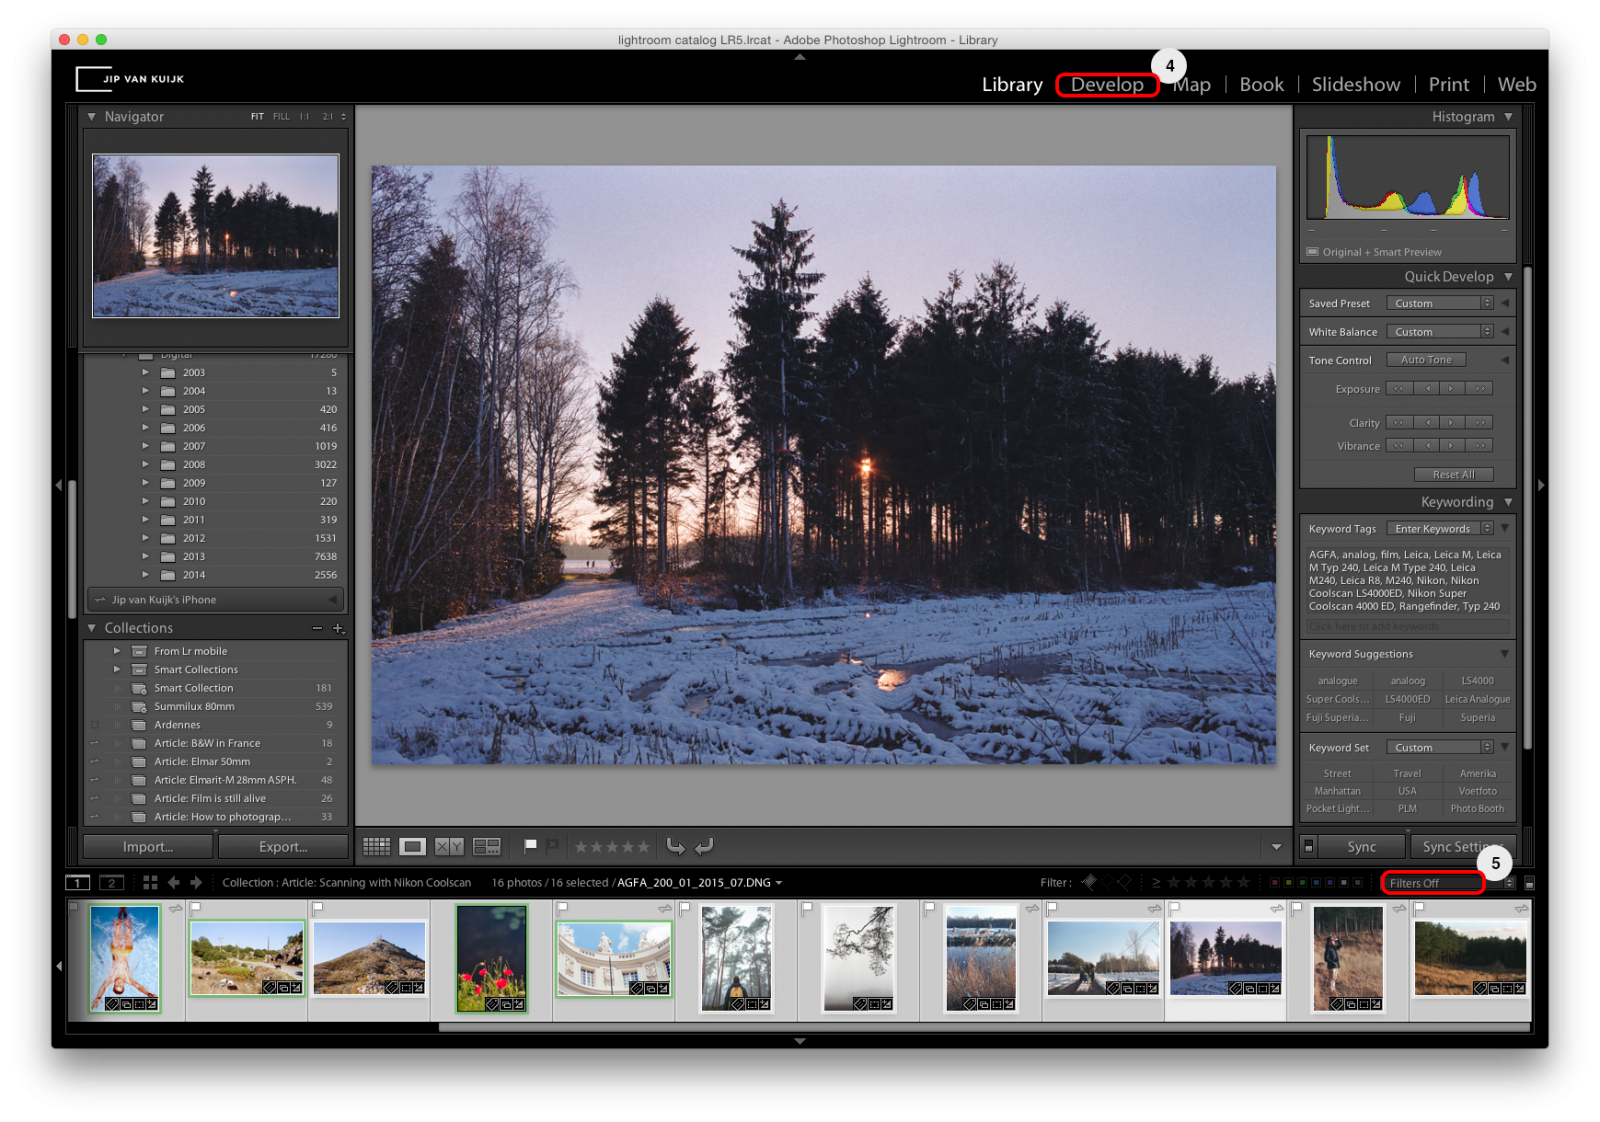
#1 | Lightroom Import window #2 | Lightroom Library window
Exporting in Lightroom
After making adjustments it’s time to either export to share the photo digitally or export for printing. Now I can go into print exporting on and on but we will stick with the basics for sharing online, and print.
Right click an image and select ‘Export -> Export…’ a new window will open where you can adjust the parameters for the file you want to export for printing or sharing online.
Digital sharing:
If you want to export the file with the highest possible quality in JPEG file format I usually go for the following settings:
‘Export Location’
Export To: [Choose folder later]
Existing Files: [Ask what to do]
This way Lightroom will ask where you want to export the photo when you actually click export, and not to a predefined location. This is my personal preference.
‘File Naming’
I leave ‘Rename to:’ un-ticked so the file keeps it’s filename but now with JPEG as filetype extension.
‘File Settings’
Image Format: [JPEG]
Color Space: [sRGB]
Quality: [100] (you can lower this to 89 with invisible loss in quality but a reduced file size)
‘Image Sizing’
I leave ‘Resize to Fit:’ un-ticked.
This way the image keeps it’s original dimension in pixels or if you have cropped the image in Lightroom keeps the cropped dimension in pixels. If you would like to share the file but make the dimensions smaller try the options here and see what is best for your purpose.
‘Output Sharpening’
Sharpen for: [Screen]
Amount: [Standard]
‘Post-Processing’
After Export: [Show in Finder]
This way it opens a finder window with your exported images, convenient!
Printing:
If you want to export the file with the highest possible quality for printing it is good to know what size you will be printing at in physical dimensions, how much PPI/DPI the printer- or the print service you will be using can handle and what file type they can handle. Below I will be showing the settings I use to deliver files to ‘Foto Schelfhout’ in Antwerp, Belgium they use a Durst Lambda enlarger/printer.
‘Export Location’
Export To: [Choose folder later]
Existing Files: [Ask what to do]
This way Lightroom will ask where you want to export the photo when you actually click export, and not to a predefined location. This is my personal preference.
‘File Naming’
I leave ‘Rename to:’ un-ticked so the file keeps it’s filename but now with TIFF as filetype extension.
‘File Settings’
Image Format: [TIFF]
Color Space: [Other…] (Fotoschelfhout has their own profile they deliver.)
Compression: ZIP
Bit Depth: [16 bits/component]
‘Image Sizing’
Tick ‘Resize to Fit:’ [Dimensions]
xx * xx [IN] or [CM]
Resolution: 400 [pixels per inch]
Of course the ‘xx * xx’ should be the dimensions you are going to print at, and the ‘pixels per inch’ should match the highest resolution your printer- or print service can handle, unless you’re printing really big and for long range viewing. But that will be discussed in a different article.
‘Output Sharpening’
Sharpen for: [Matte paper] or [Glossy paper]
Amount: [Standard] or [Low] is what I usually use.
‘Post-Processing’
After Export: [Show in Finder]
This way it opens a finder window with your exported images, easy!
Wrap up
Below you will find a few more shots taken with various cameras and film types but all scanned with the Nikon LS4000. I hope you have enjoyed reading and checking out the photos in my article and as always feel free to subscribe to my newsletter to receive an email when I publish a new article, or to leave your thoughts in the comments bellow. Donations are really welcome too since a lot of time goes into writing these articles. Donations can be made through Paypal contact me if you wish to donate. Thanks.
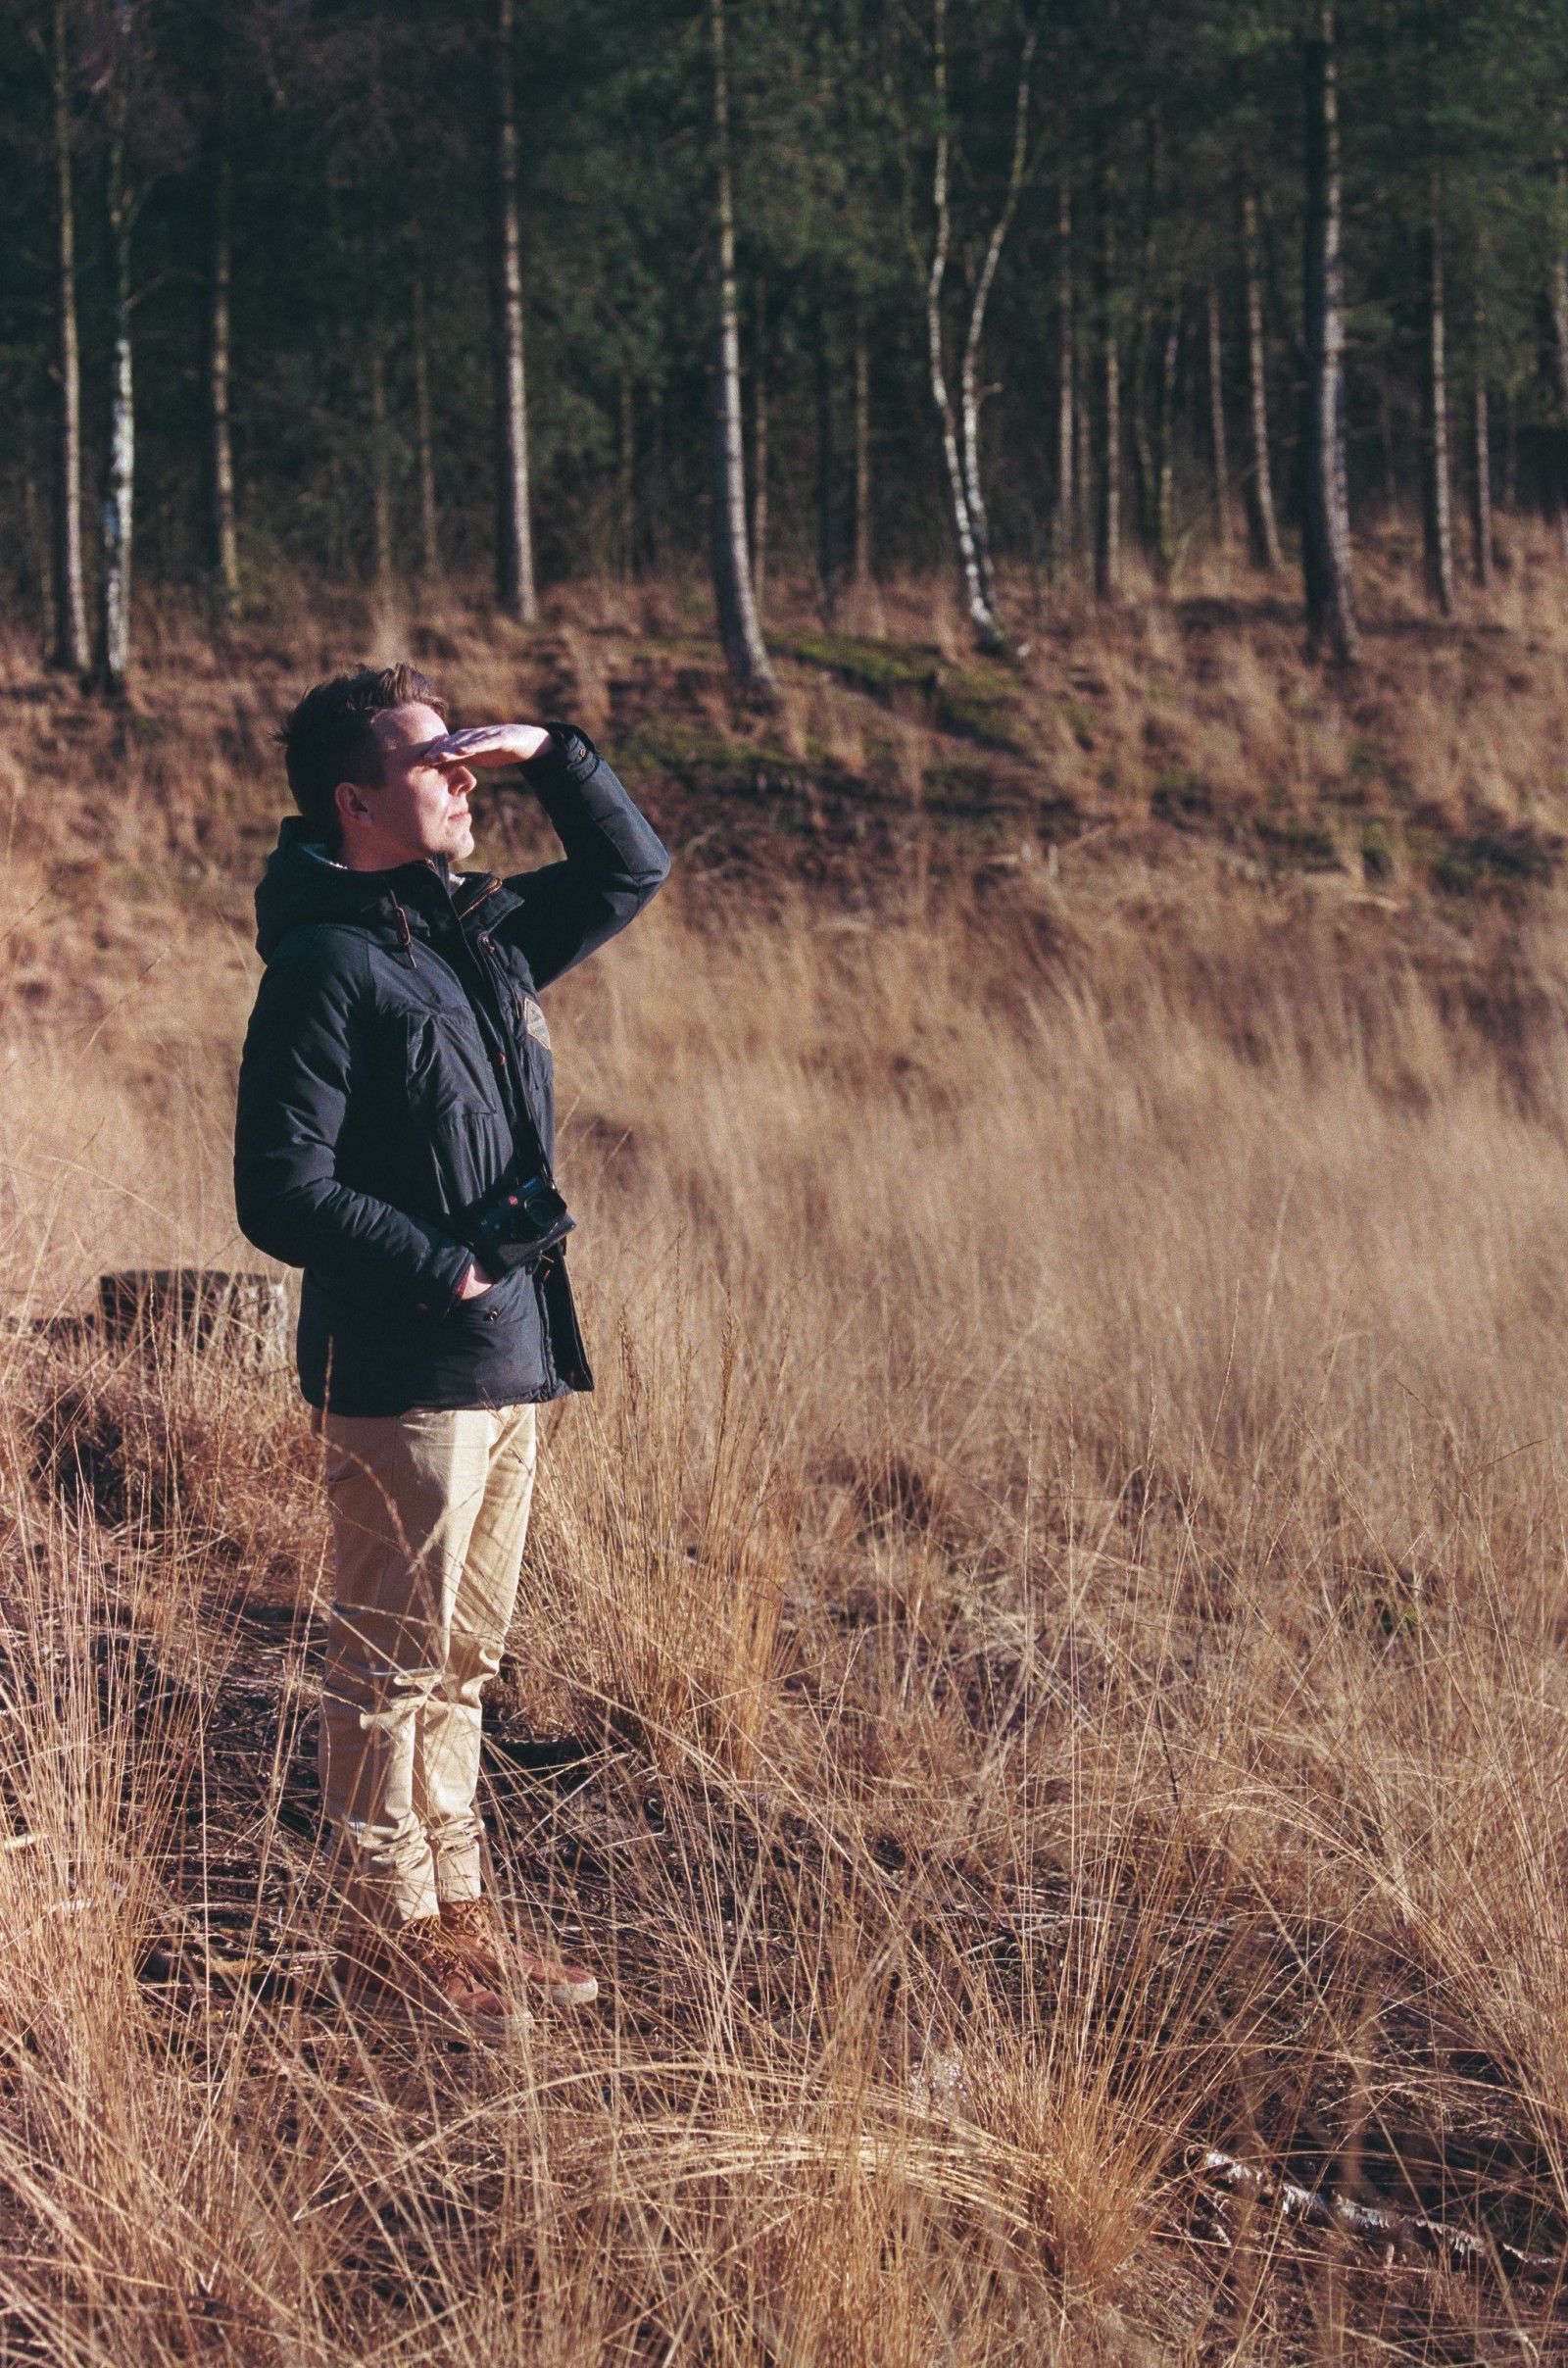
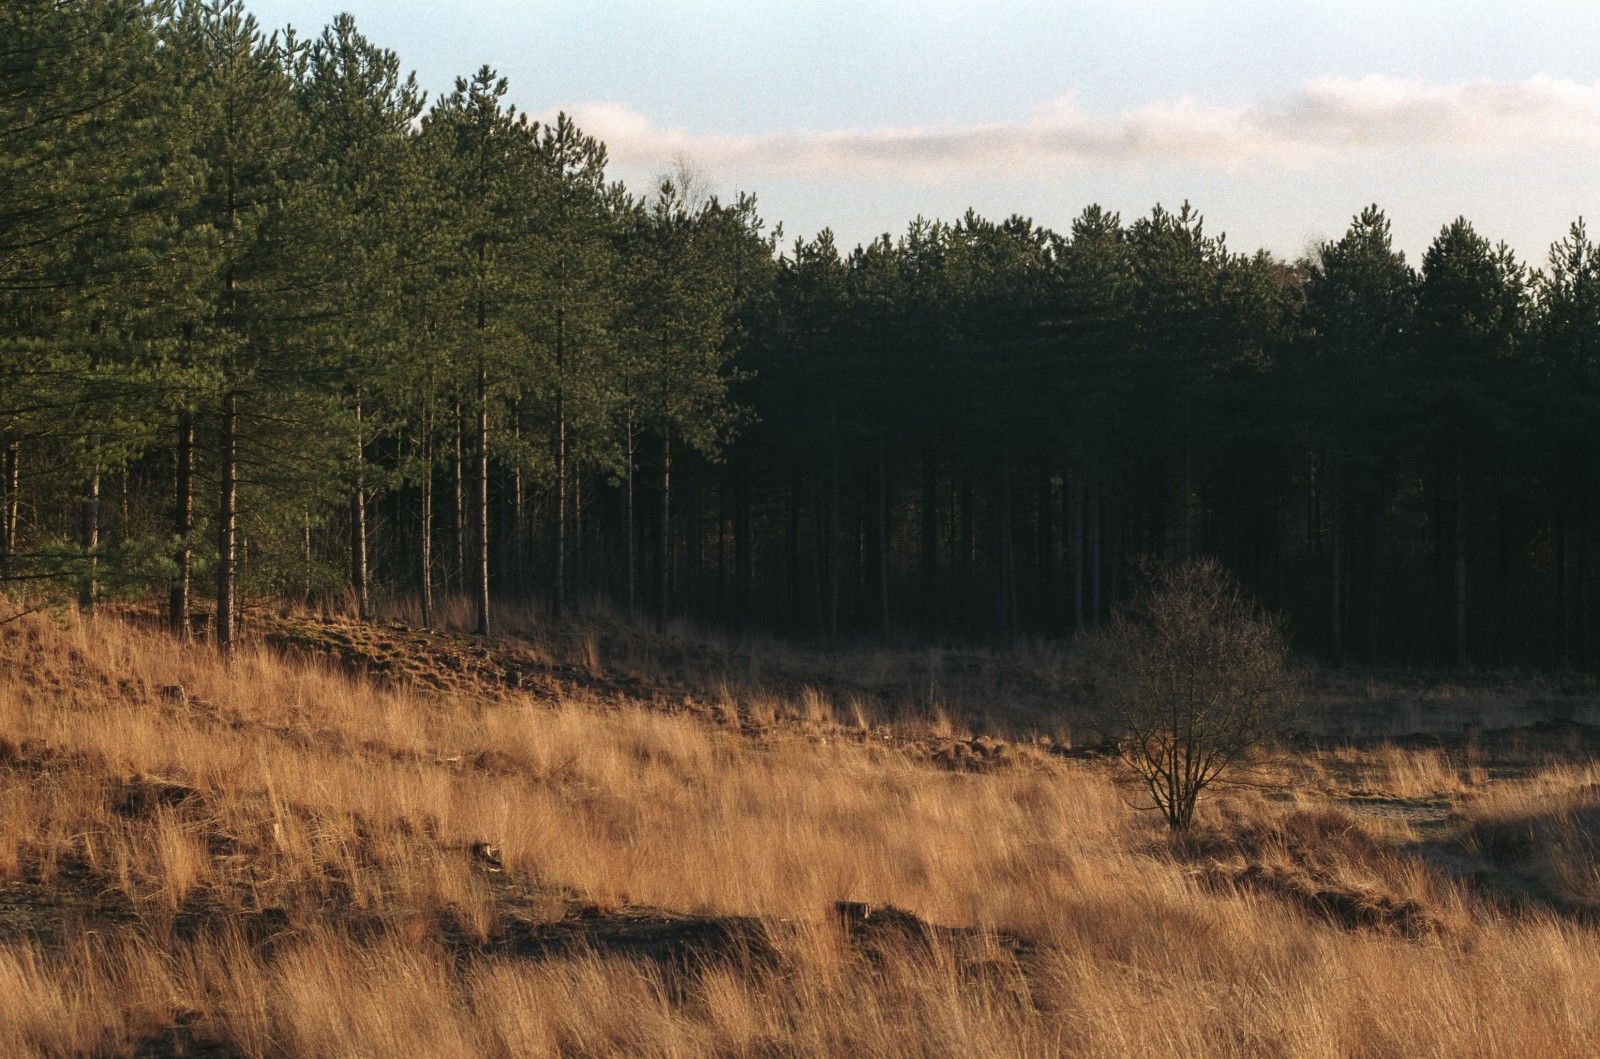
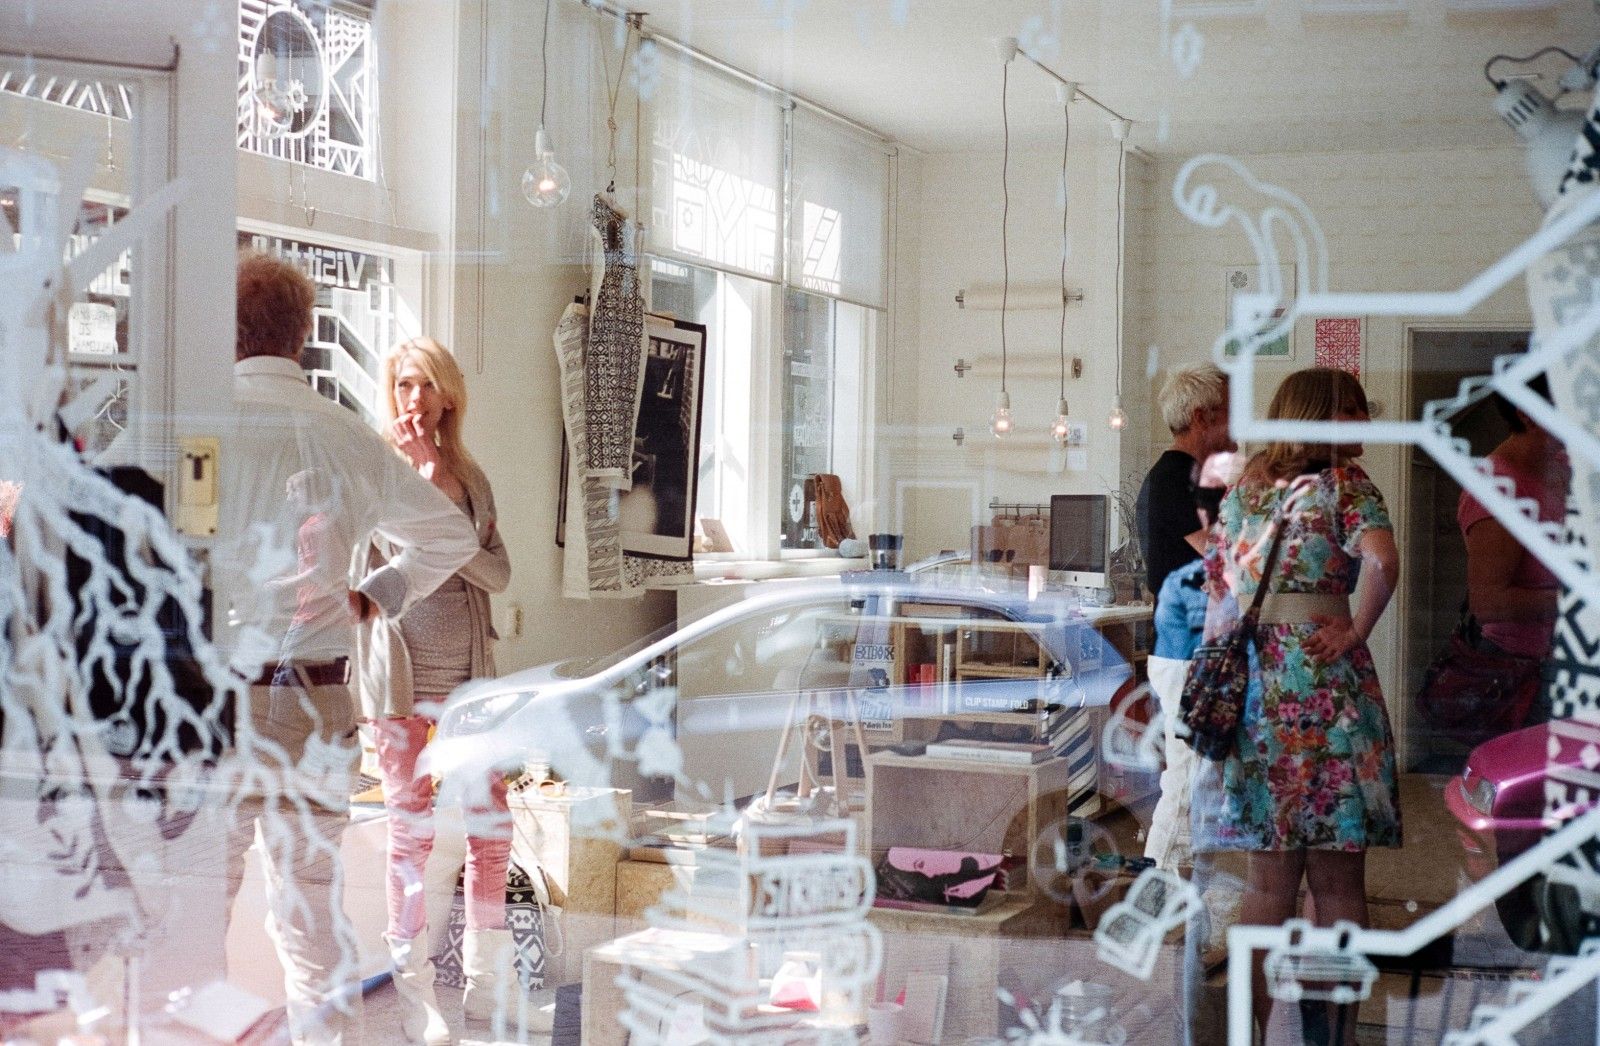


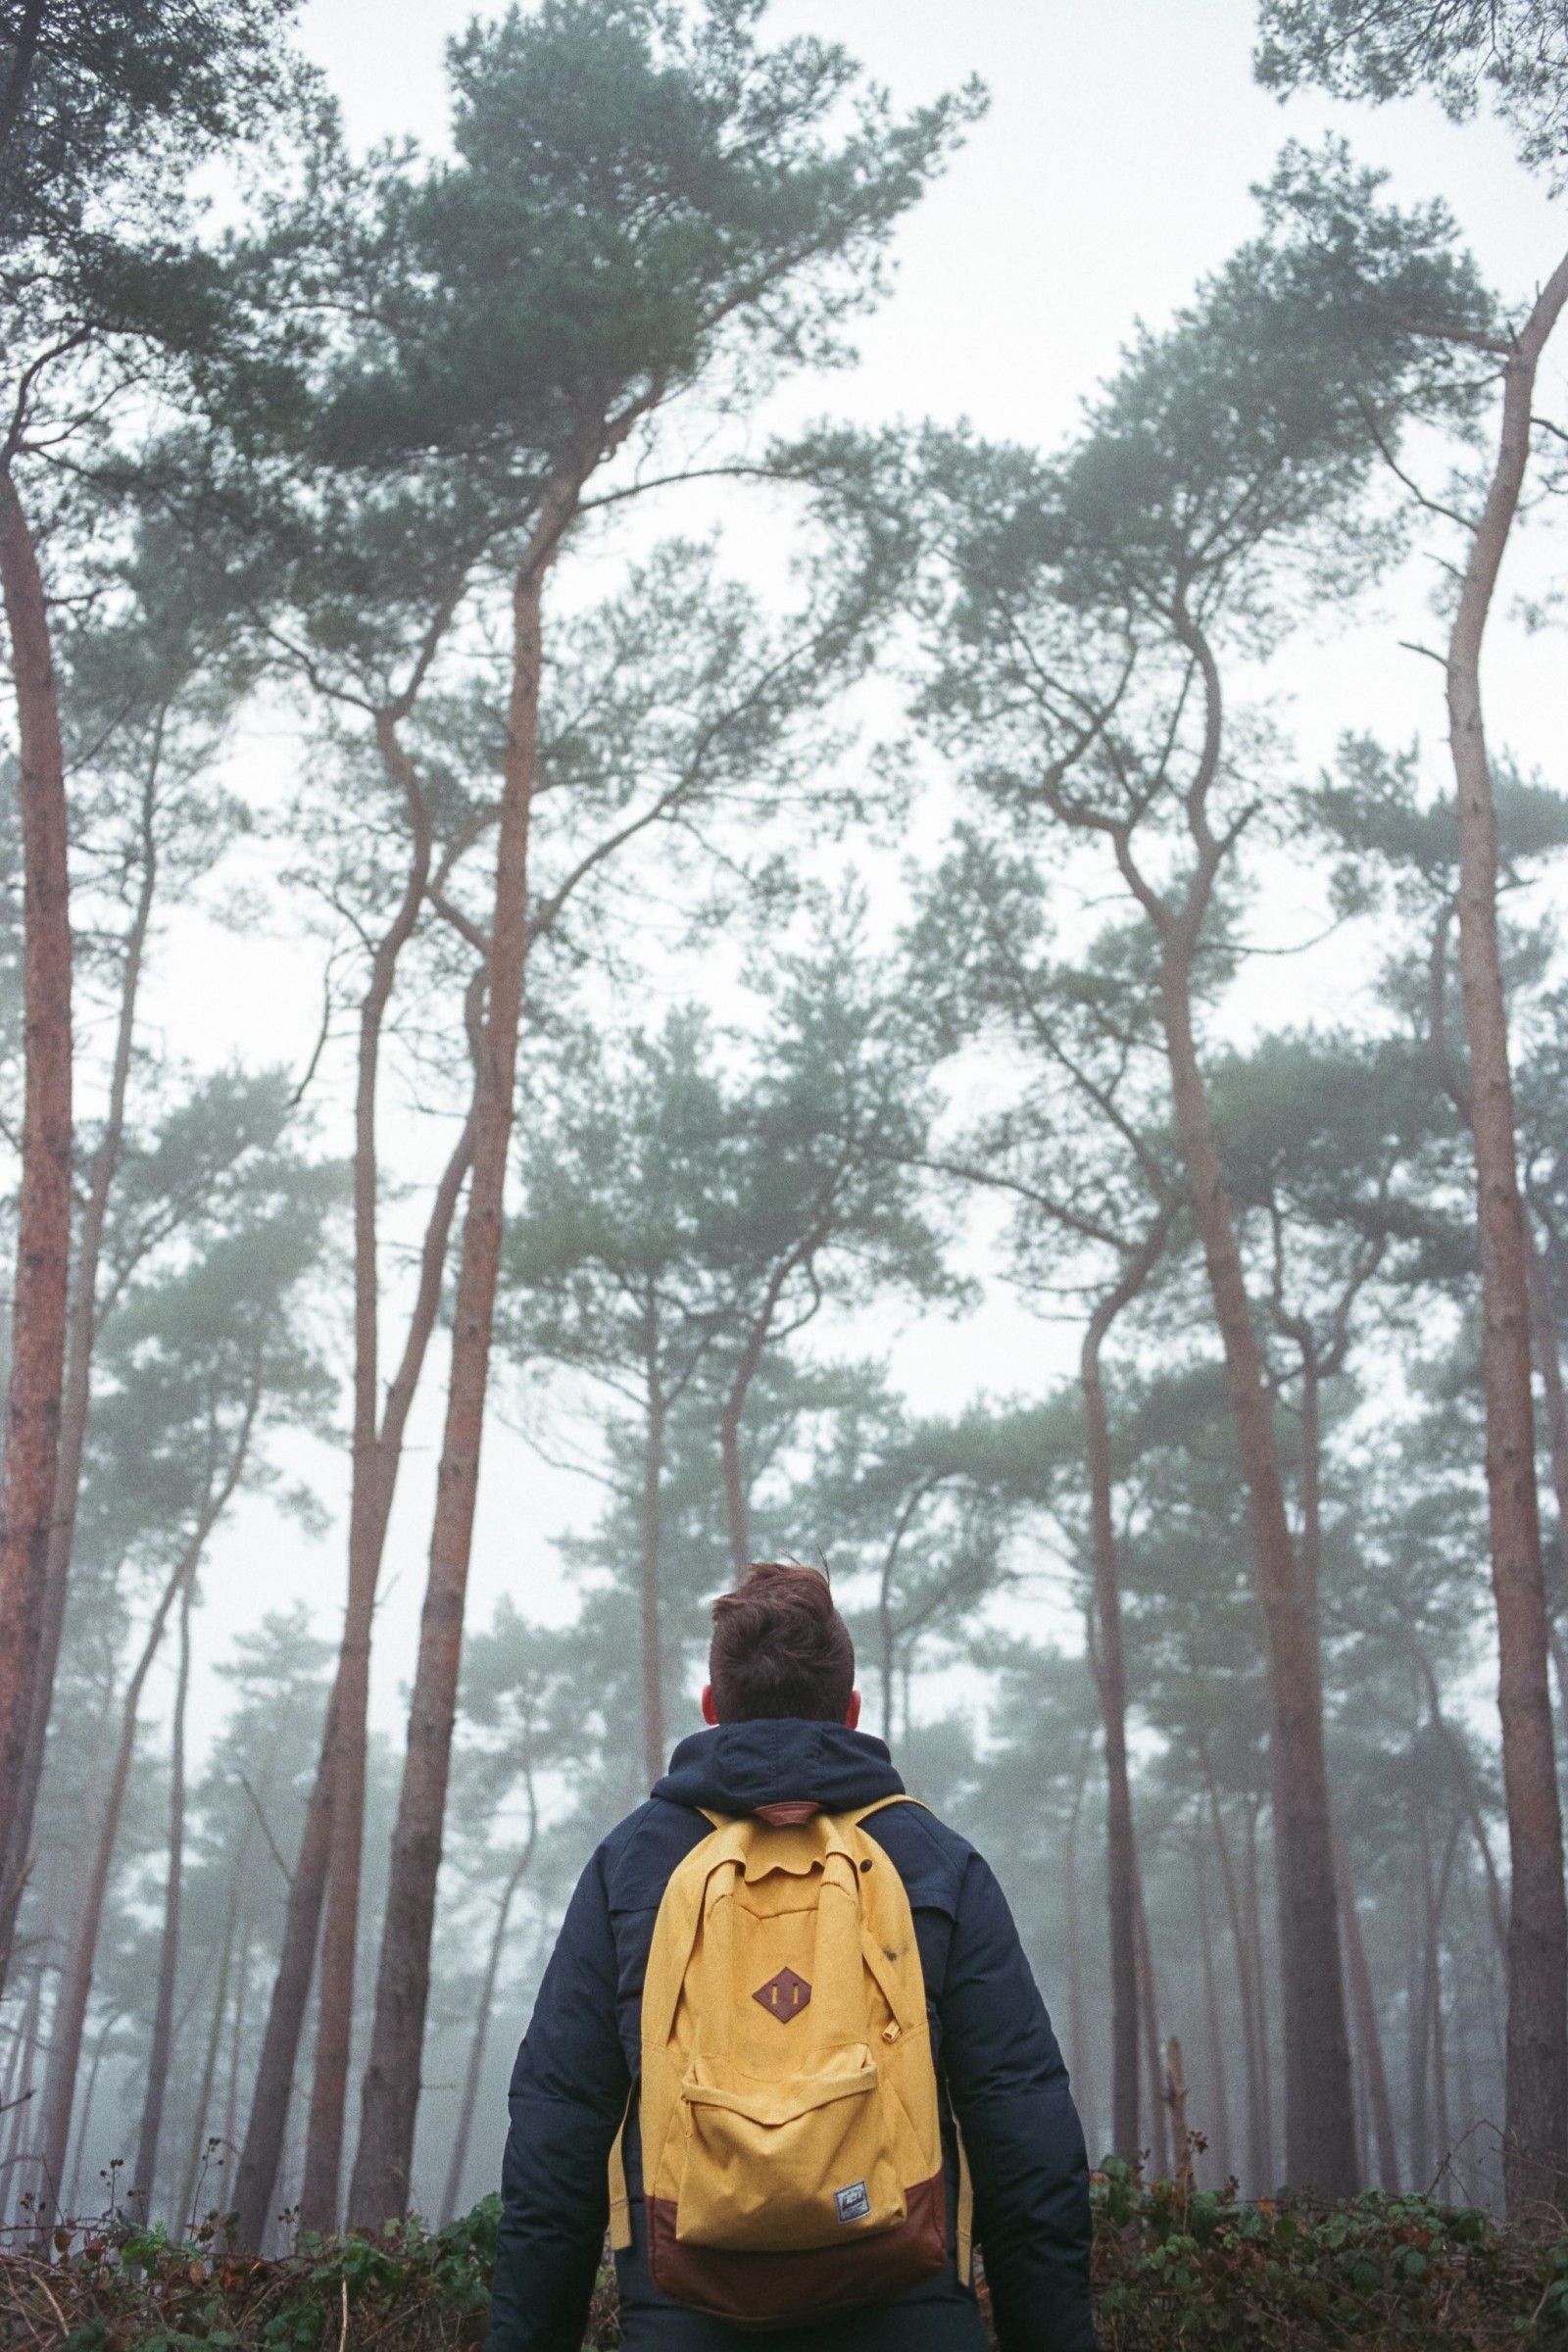
Various Leica cameras, various lenses and various types of film.

M
These ancient scanners and archaic software are temporary solutions either until something burns out or the old computer gives up the ghost. I had a Minolta that did not operate properly with VueScan because the USB port was too fast for the device. This might be the real killer of film when one or two scan solutions persist (all sub-optimal) and the concurrent cost of scanning at a lab rises.
Jip van Kuijk
You are quite right however, the scanner is fully compatible on Microsoft Windows machines. Worst case scenario you can just buy a cheap desktop computer or laptop running some version of Windows and keep using the scanner. If it dies it dies, but all electronics die eventually and there will always be an alternative. But for now I am most pleased with the results. And I think they are better than the currently available newer products by other manufacturers even if you go a price class higher.
Kind regards.
Eduard de Kam
Ik gebruik een digitale camera om de dia’s en negatieven te reproduceren. Het gaat heel snel, je moet alleen leren de kleurnegatieven positief te maken:-)
Worden 16-bits TIFF bestanden kleiner van ZIP compressie? LZW compressie maakt ze juist groter.
Jip van Kuijk
Dat werkt inderdaad ook, compressie maakt de bestanden altijd kleiner, er zit echter verschil tussen de manieren van comprimeren. Het is waar dat LZW compressie minder effectief is dan ZIP compressie.
Jip
Rick Lombardo
I just remembered my 2008 MacBook Pro 17 has both FireWire 400 & 800. Disconnect the Nikon 4000 Coolscan ED from a Power Mac G4. Using Vuescan, works much better the old G4…
Mick Bauman
Your pictures just got me order 4000ED on ebay. The quality is amazing, vivid colors and a subtle grain adds up a lot to a “feeling” one is getting just from a fist look.
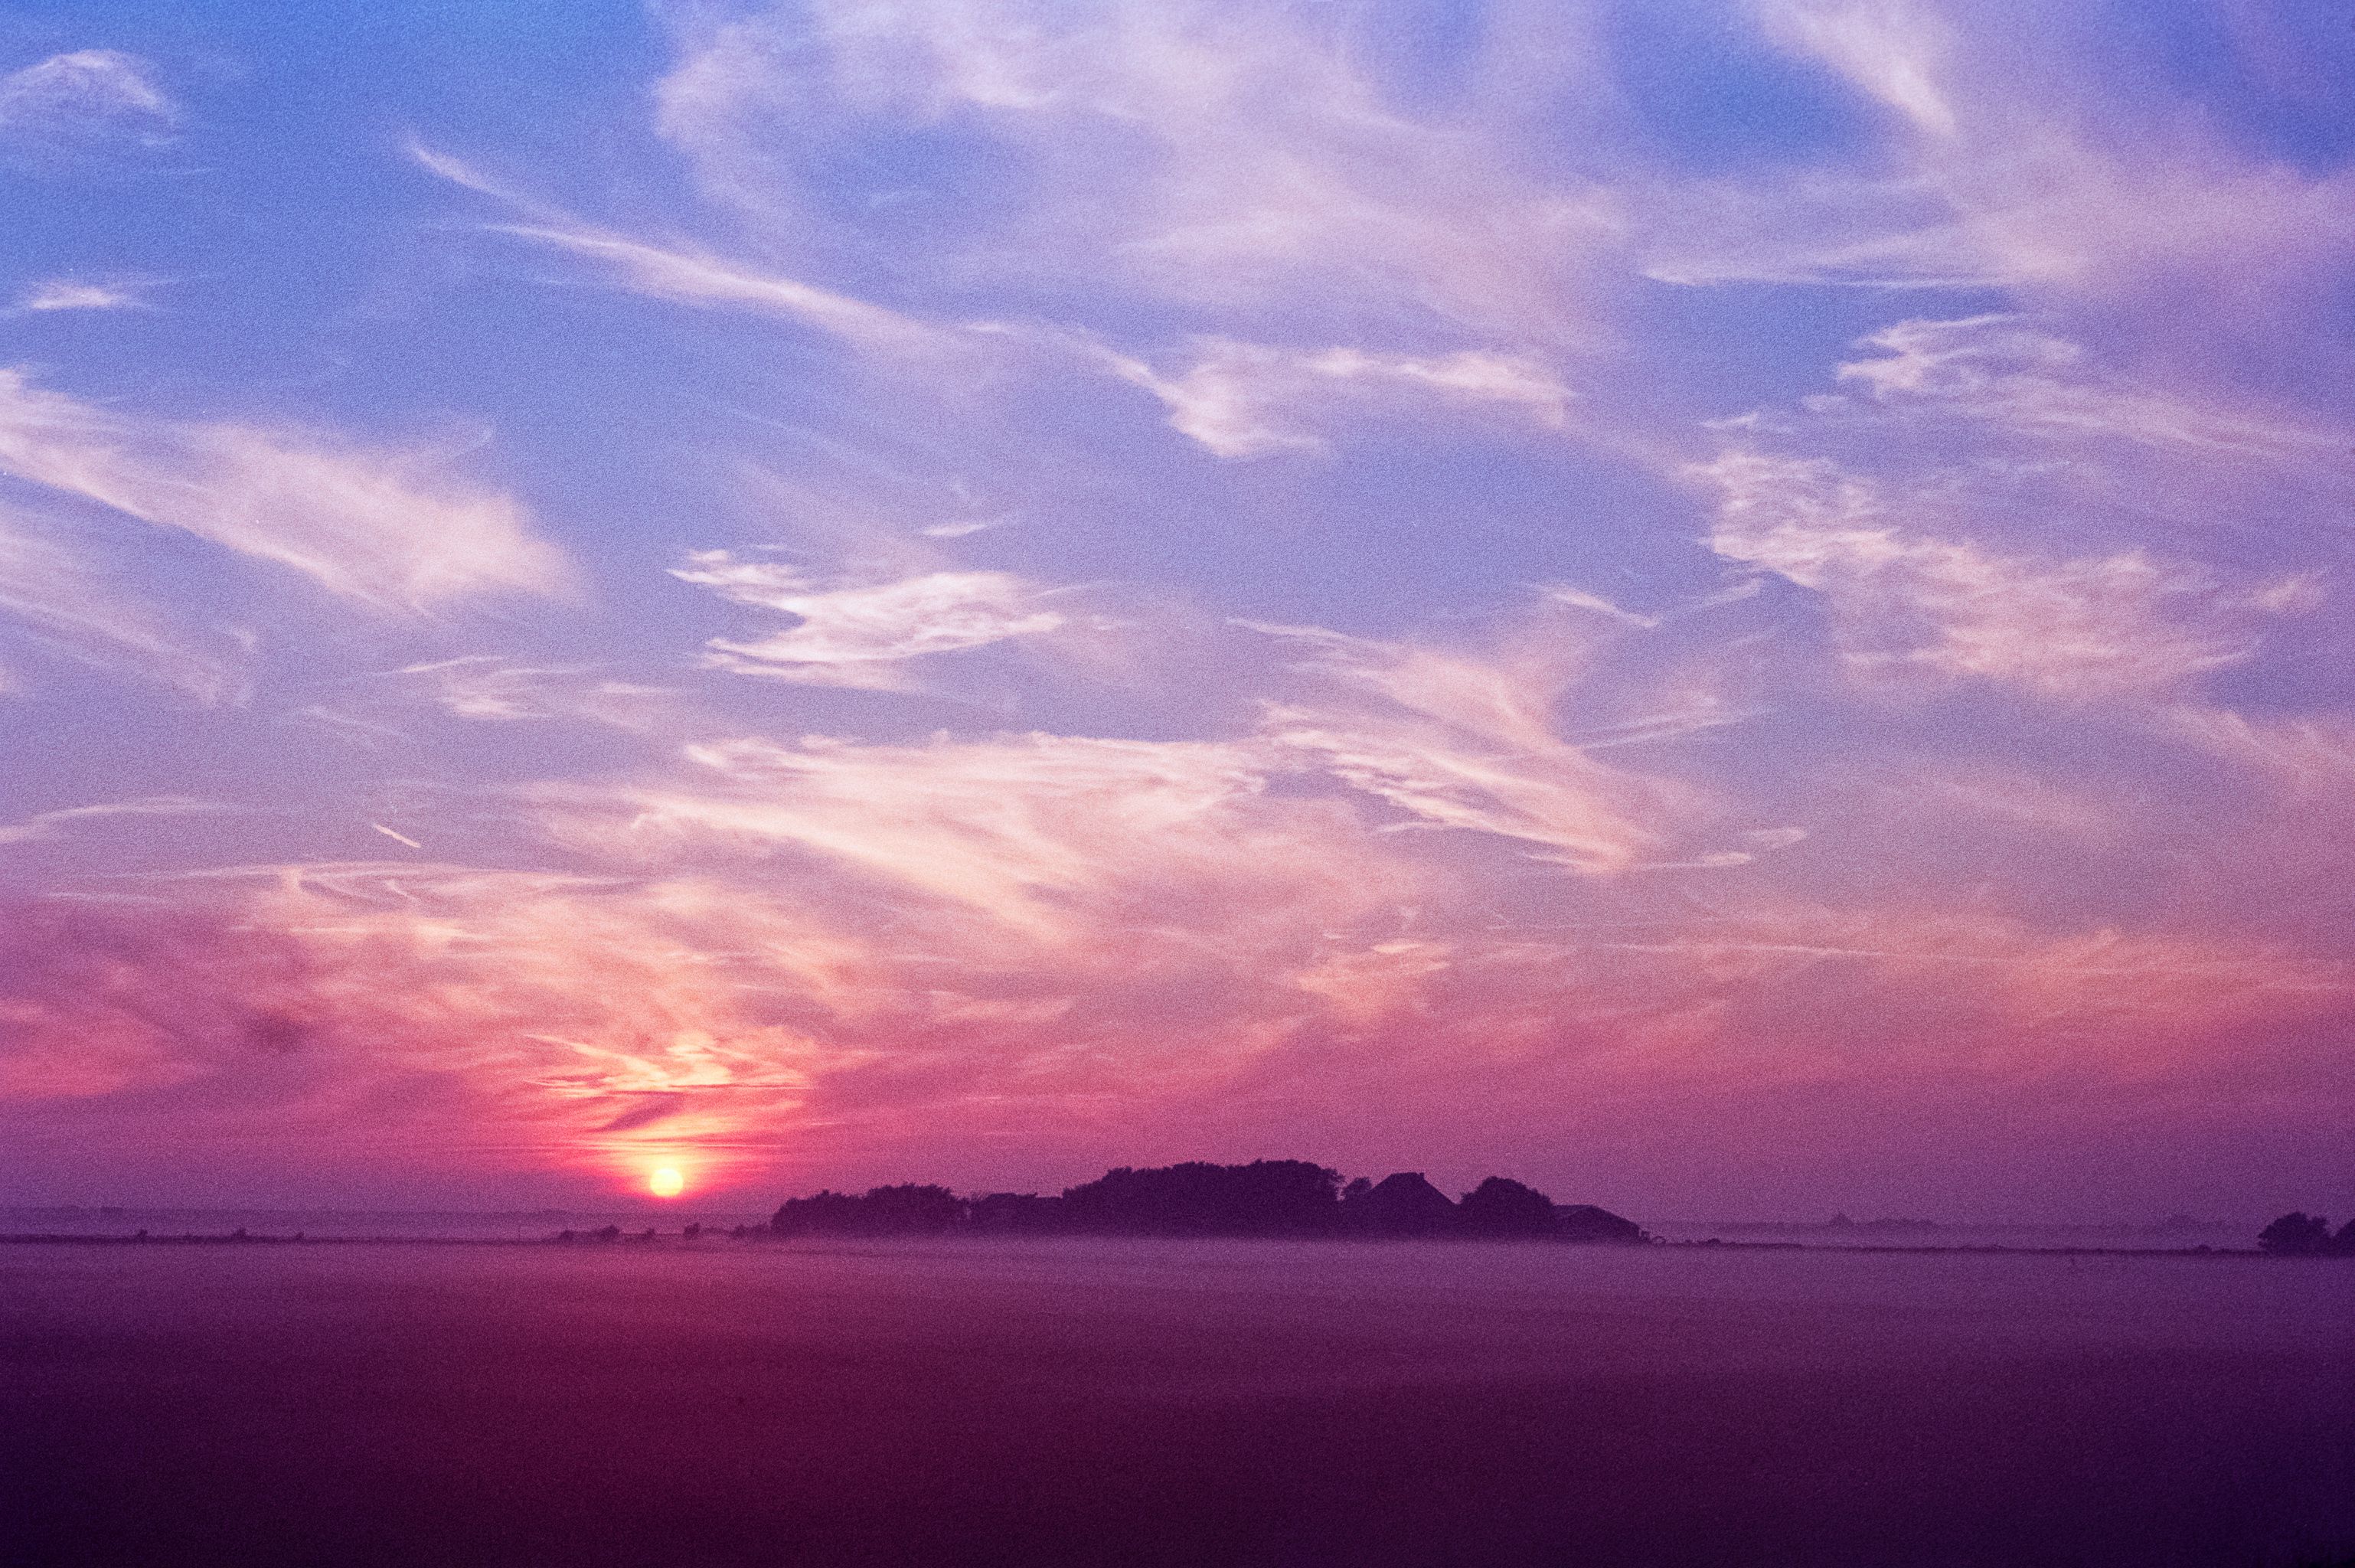
May I ask what Summicron-M 50mm type You used on a second picture ‘pink’ landscape-sunrise picture?
It says there are 6 types according to Year of production, that spans from 50s till now; It’s a pre-asph I assume?
Rick Mansen
Hi, may I ask which Summicron-M 50mm Type You used for the second picture, the ‘pink’ sunrise landscape? Looks absolutely outstanding.
Shahan
Hi! Do you still have this scanner? How well does it work with denser negatives? Looking to get one of these for scanning color and black & white film.
Jip van Kuijk
Hey Rick,
It is the latest 50mm Summicron-M. The non APO version.
Jip
Jip van Kuijk
Hey Mick,
It’s the latest 50mm Summicron-M (Not the APO). Leica still sells it today, it’s been the same since since 1979, the only change was 6-bit coding was added to the bayonet when the Leica M8 came out.
Mine is from 1994 :)
Jip
Jip van Kuijk
Hey Shahan,
Yes I still have it and still use it. It works great with denser negatives, it’s called “CoolScan” because it uses RGBI LED’s to light the negatives which are strong enough to even scan dense negatives. I’d actually say the scanner prefers dense over thin negatives.
Jip
Martin
Hi Jip!
Great article, I will definitely use your tips to set up my LS-4000! I was just wondering how do you conect your scaner to Mac Pro? Do you use the Apple Thunderbolt to FireWire Adapter?
Christopher Engell
I just wanted to say I just connected my Nikon LS-4000 to my Macbook 13, using Apple Thunderbolt 2 adapter $29 and the a 3 foot Firewire 800 to Firewire 400 cable $10 and using Vuescan 9.45 works great!
So if anyone needs to or wants to IT WORKS!
Christopher
Daniel
I just pulled my CoolScan 4000 out after many years of being on the shelf. It’s connected to my PowerBook g4 through FireWire and It seems like everything I try to scan comes out really grainy. Not at all like your examples and not how I remember it scanning in the past. Really disappointed. I don’t know if you run into this at all. If so, what seems to be the situation when you have this problem?
Jip van Kuijk
Are you using the Nikon CoolScan software? It can be that your gain is set wrong… (too dark) making the image noisy. The question is… are you seeing image noise (digital) or are you seeing the grain of your negative (analog)?
Daniël
I don’t find that the Nikon Scan 4 software is incompatible with modern operating systems, at least on the Windows side. I’m currently using a CSIV, though looking at going for an 4000 and modding my SA-21 roll feed adapter into an SA-30, so I can do whole roll scanning which is handy as I’ll be developing film myself, and I’m using it with Windows 10 64-bit.
Windows even found a driver for the IV, though it is one of Ed Hamrick’s (VueScan) drivers. Those work fine with NS4. No compatibility modes, no fiddling with drivers. I wonder if the 4000 will be trickier on the merit of the FireWire connectivity. I’ll have to grab a PCIe FireWire card that works with Windows 10 first, though!